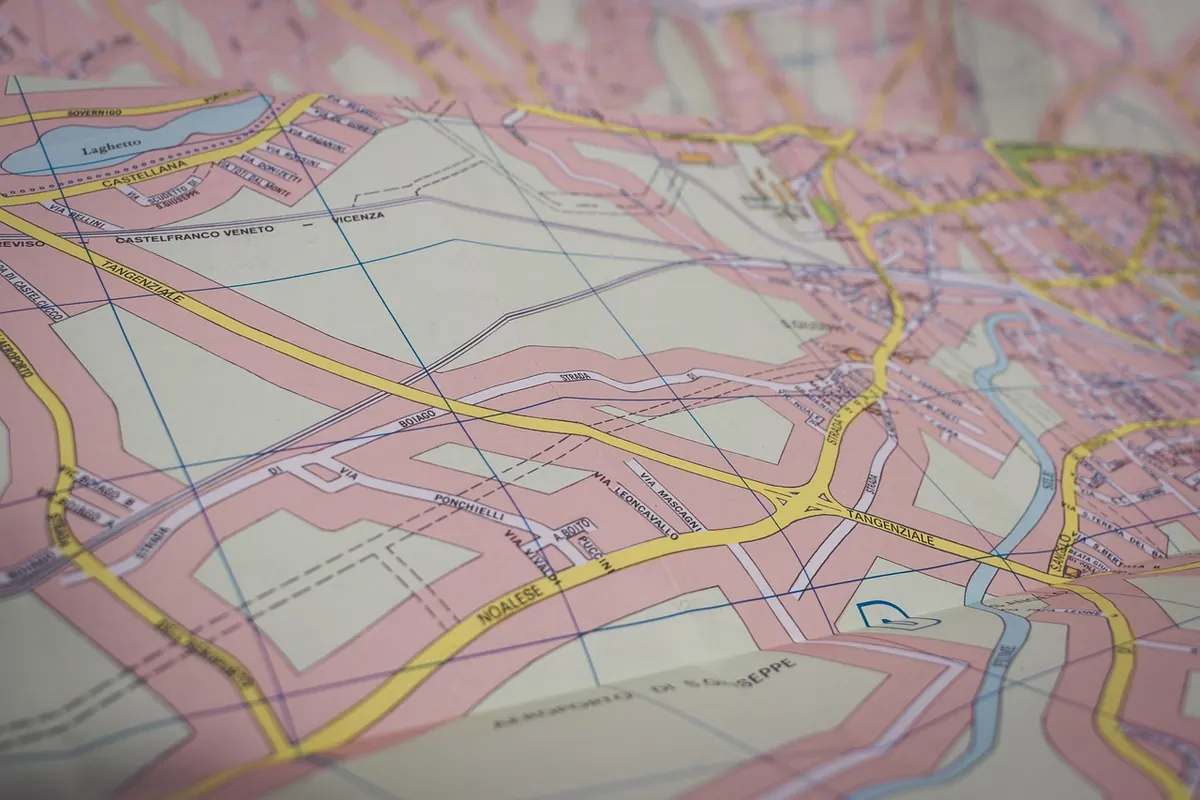
A paper map does not announce itself. Unfold one across the bonnet of the car, weigh the corners down with a water bottle and a stone, and you are looking at a dense sheet of lines, colours and small numbers that seem to assume you already know the language. You don't have to. Nearly everything on that sheet is built from four simple systems — a legend, a scale, a grid and a set of road classes — and once those click, the rest of the map opens up fast. What follows is the working knowledge you need to plan a drive on paper instead of glass.
Start with the legend, always
The legend is usually tucked into a corner or along one edge, and it is the only part of the map that tells you what the mapmaker meant. Publishers differ. A dashed red line that means "unpaved but passable" on one sheet can mean "seasonal closure" on another, and a thin black line with cross-ticks might be a railway on one map and a cable car on the next. Read the legend before you read the roads.
While you are there, check two other things:
- The edition date. A bypass built five years ago will not be on an older sheet, and it will quietly ruin your plan.
- The fine print about symbols. Many maps add a short note explaining that certain symbols apply only at specific scales, or that a particular colour indicates a military area or a restricted zone.
Colour carries meaning too, and it is usually consistent: blue for water, green for woodland and parks, brown for contours, grey or pale yellow for built-up areas. Learn to read the colour wash first, then the lines on top of it.
Scale: what the numbers actually mean
Scale is the relationship between the paper and the ground. On a 1:50,000 map, one unit on paper equals 50,000 of the same units in real life — so one centimetre covers 500 metres, and four centimetres covers two kilometres. On a 1:250,000 sheet, one centimetre covers 2.5 kilometres, which is why the same distance looks so much shorter.
This matters for choosing which map to buy. A 1:250,000 sheet is good for deciding which valley to drive up; a 1:50,000 sheet is what you want when you are trying to work out whether the road past the lake is sealed or whether the junction has a left turn. Many drivers carry one of each.
Quick measuring tricks
Every decent map has a printed scale bar, and you should use it rather than trusting the ratio. For estimates on the move, a few habits help:
- Your thumb. An adult thumbnail is roughly 2 cm wide, which is about a kilometre on a 1:50,000 sheet.
- The paper edge. Mark two points on the edge of a spare sheet, then line it up against the scale bar. Works for straight legs.
- A length of string. Lay it along a curving road, pinch the end, then straighten it against the scale bar. Far more honest than guessing a winding mountain road's length.
Remember that map distance is not driving distance. A road that measures 30 km on paper will take longer than the arithmetic suggests if the contours are packed tight.
The grid: finding yourself on paper
Those pale straight lines crossing the whole sheet are a reference system, not roads. They exist so a location can be described precisely, and so you can count squares to estimate distance.
Most topographic maps use kilometre squares. The numbers along the bottom and top edges are eastings; the numbers up the sides are northings. A grid reference is read eastings first, then northings — along the corridor, then up the stairs. A point described as being in square 482 197 sits between the 482 and 483 easting lines and between the 197 and 198 northing lines.
Latitude and longitude ticks, usually in the margins, serve the same purpose in a different language. If you ever need to pass your position to someone by phone, or cross-check against another map, those tick marks are what you use. Look too for a small compass rose or declination note: it tells you how far magnetic north differs from grid north in that area, which is the difference between a bearing that works and one that doesn't.
Road classes: reading the line itself
Roads are drawn to a hierarchy, and the hierarchy is mostly about width and colour. A thick double line with a coloured fill is a motorway or equivalent. A solid red or orange line is a primary route. A thinner line is secondary. Thinner still, often with a casing only, is a minor road. Dashed lines usually mean unpaved, unsurfaced or seasonal.
Route numbers appear in small boxes or shields alongside the road, and junction symbols tell you whether a crossing is a roundabout, a grade-separated interchange or a simple T. Some maps print the distance between junctions in small figures; those numbers are worth more than they look when you are deciding where to turn off for fuel.
Watch for the restrictions, which are easy to miss and expensive to ignore: toll markers, ferry crossings with timetables noted in the margin, seasonal closures shown by a dashed line with a note, weight and height limits on mountain passes, and level crossings. Place names are graded too — large type for towns, small type for hamlets — which gives you a quick sense of where services are likely to exist.
Terrain and the details that change a route
Contour lines show elevation. The interval is stated in the legend, often 10 or 20 metres. Lines close together mean steep ground; lines far apart mean gentle ground. A road that runs straight across a dense band of contours is not a fast road, whatever its class suggests. Relief shading and hachures add texture to the same story.
Water matters just as much. Rivers, streams and lakes are drawn in blue, but so are the things that cross them. A road meeting a river with a bridge symbol is fine; a road meeting a river without one is a ford, and a ford after rain is a gamble. Tunnels, viaducts and hairpin sequences are all marked, and all of them affect your timing.
Planning a route on paper, step by step
- Mark your start and finish with a pencil, not a pen. Plans change.
- Choose the corridor first — the general line you want to travel, at the overview scale.
- Swap to the detailed sheet and follow the road classes, noting every junction where you could go wrong.
- Measure each leg with string or paper edge, then add time for terrain and stops rather than trusting the distance alone.
- Circle towns with fuel, food or a bed for the night, and write the names in the margin so you are not hunting across the sheet at dusk.
- Mark one alternative route in a different colour. It costs nothing now and saves an hour later.
If you are travelling with someone, agree in advance who is reading the map and who is driving. A driver trying to hold a folded sheet steady on a winding road is a hazard, and the navigation will suffer.
Before you fold it away
Keep the map in a plastic sleeve or a map case; a sheet softened by rain tears along the folds within a day. Use pencil for markings and keep the legend side out when you refold, so the next person can read it without unfolding the whole thing. At each stop, take ten seconds to note where you are — a town name, a grid square, a junction — and the rest of the day gets easier.
Finally, check the edition date once more before you leave, and keep the map in the door pocket even when the phone is working. Screens fail, batteries flatten, and signal disappears in exactly the valleys where you most want to know what is around the next bend. A paper map does not need any of that.
Photo: 3844328 / Pixabay